Welcome 👋
AI | Tech | Full-stack | News
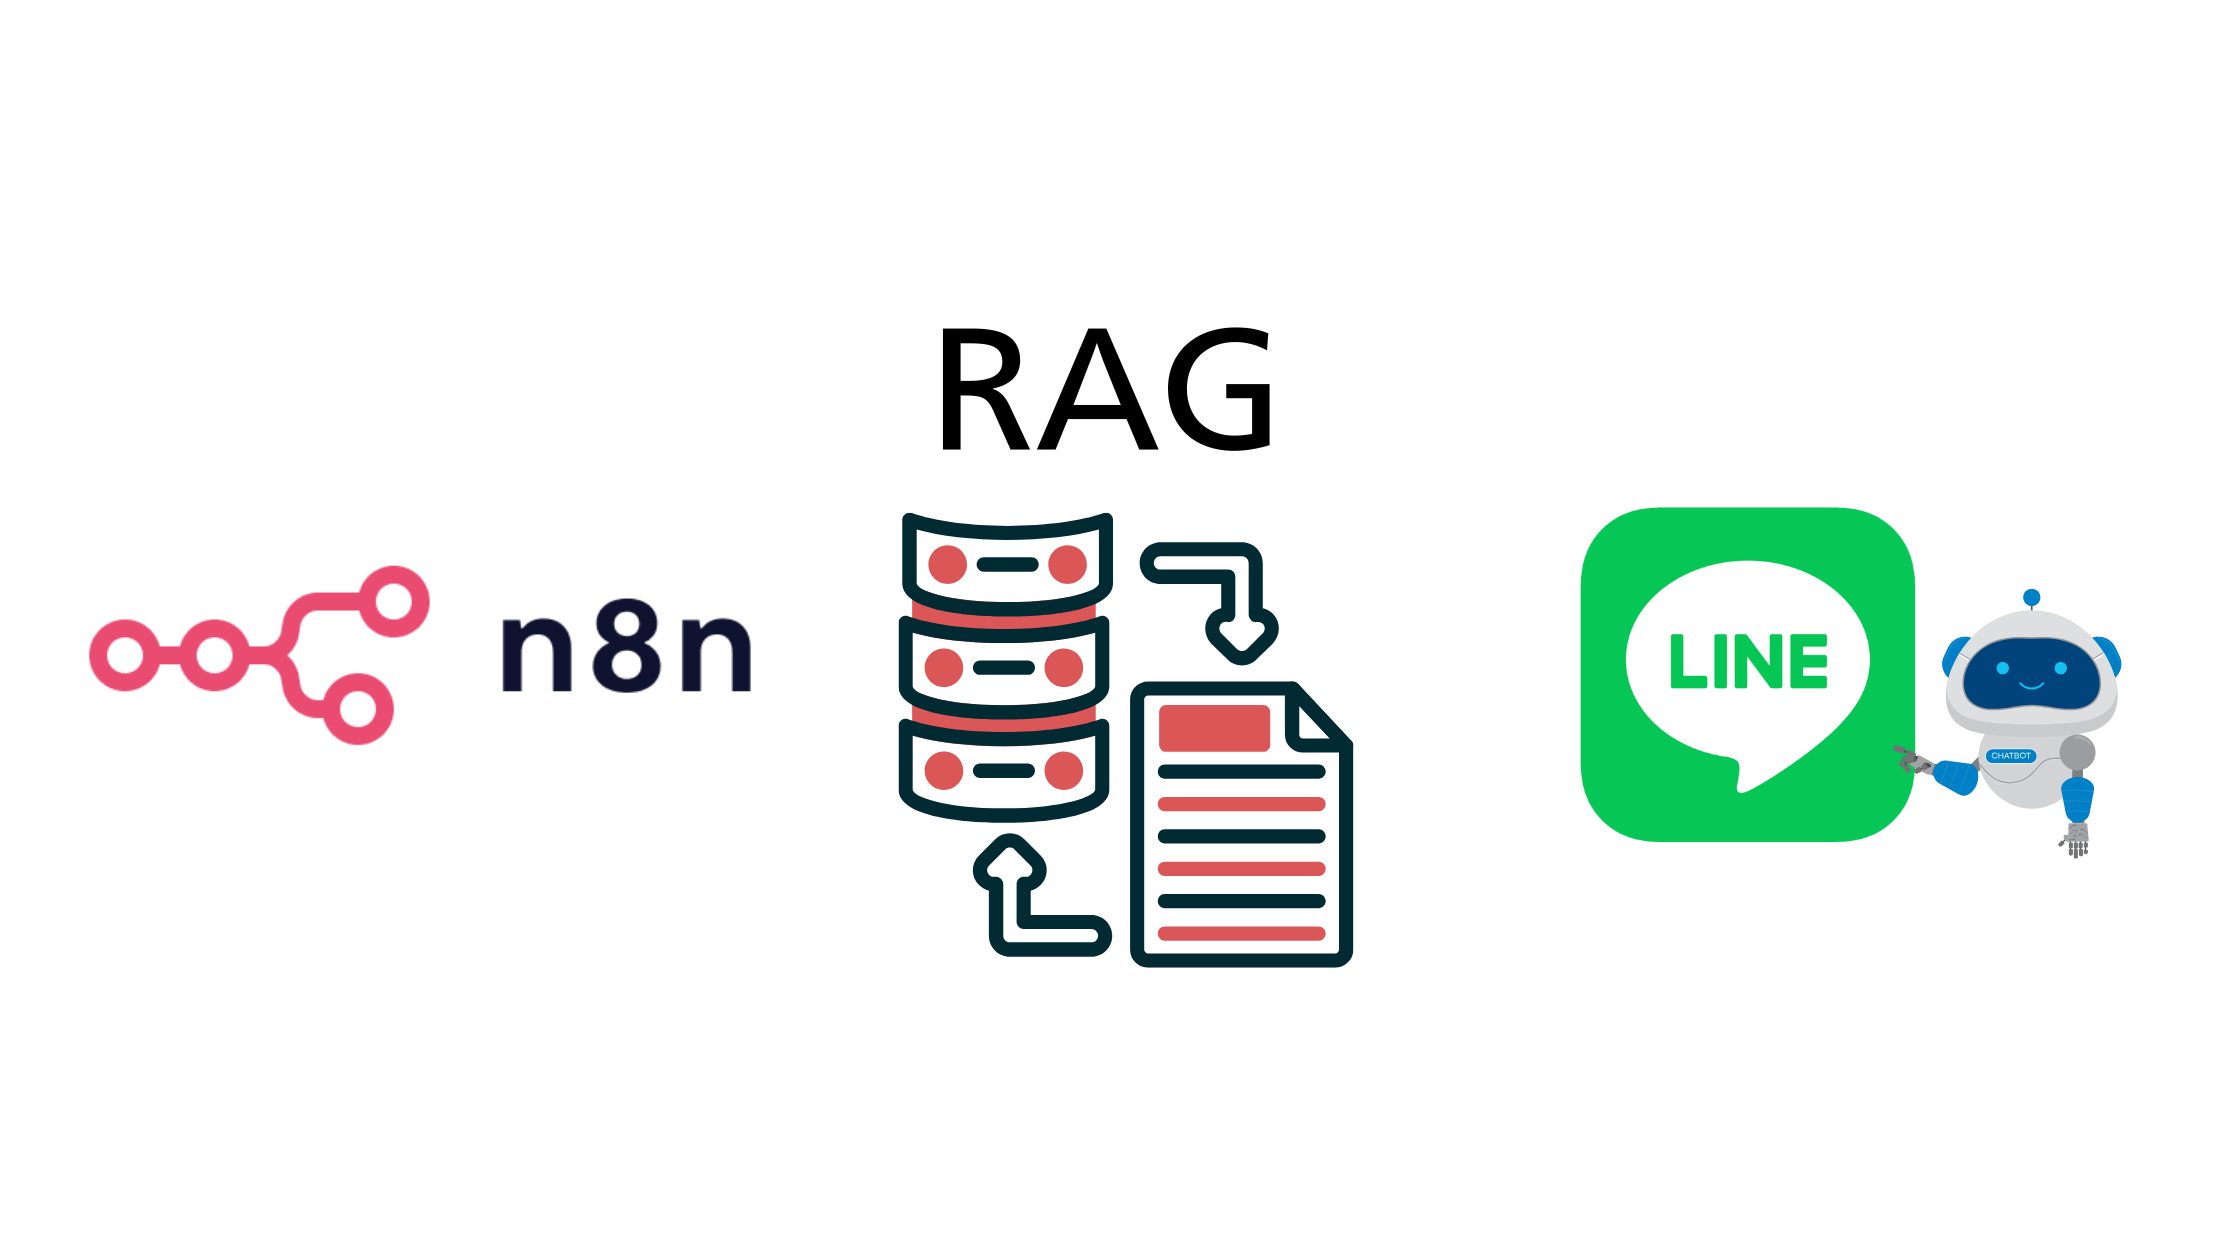
最近看了許多文章、影片,都在探討 RAG 的應用,所以研究了一下 N8N 如何建立自己的 RAG 系統, 並且結合 Line 來打造一個客服 AI 機器人,這篇文章就來分享一下整個流程和步驟。 由於 AI 領域的更新,可能是以天或者甚至以小時為單位在變化,參考了很多影片後,會發現不一定時做得出來你想要的需求 總共會使用到的服務有 N8N、Line OA、Gemini AI、Pinecone、Google Drive,這些服務大部分都有免費額度可以使用 建立 Line 帳號 首先進入到 Line OA 管理後台,建立自己一個新的官方帳號 Line OA 管理 取得 Channel Access Token 和 Webhook 以及點擊下方的 LINE Developers Console 可以找到 Channel Secret 這 3 個資訊在後續 N8N 的設定中會用到。 RAG 介紹 RAG (Retrieval-Augmented Generation) 是一種結合檢索和生成的技術,主要用於提升自然語言處理模型的性能。 在大語言模型中經常會出現「幻覺」(Hallucination) 的問題,RAG 透過引入外部知識庫來減少這種現象。 主要分成三個部分: 檢索 (Retrieval):從外部知識庫中檢索相關資訊,這些資訊可以是文件、文章、數據等。 增強 (Augmentation):將檢索到的資訊與輸 入的查詢結合起來,形成一個更豐富的上下文。 生成 (Generation):使用自然語言生成模型來產生回答, RAG 與 生成式 AI (Generative AI) 的主要區別於 RAG 透過資料庫中的資訊來輔助回答問題, 而生成式 AI (例如 GPT 等)則主要依賴於模型本身的訓練數據來產生內容,但不一定保證內容正確性 ...

這邊記錄一下如何在 Hugo 中安裝 Disqus 評論系統,佈景主題為 PaperMod。 安裝步驟 在 Disqus 註冊帳號並創建一個新的網站。 在 Disqus 的網站設定中,找到 Shortname,這是用來識別你的網站的。 在你的 Hugo 網站的 config.toml 或 config.yaml 中添加以下配置: [params] disqusShortname = "your_disqus_shortname" comments = true 或者如果你使用的是 YAML 格式: params: disqusShortname: your_disqus_shortname comments: true 確保你的 Hugo 佈景主題支持 Disqus。PaperMod 佈景主題已經內建支持 Disqus,所以只需要確保上述配置正確即可。 複製 themes/PaperMod/layouts/partials/comments.html 到 layouts/partials/comments.html 確認 Disqus 的代碼已經包含在內。 如果沒有,你可以手動添加以下代碼到你的 layouts/partials/comments.html: {{- /* Comments area start */ -}} <div class="disqus markdown"> {{ partial "disqus.html" . }} </div> {{- /* Comments area end */ -}} 建立 layouts/partials/disqus.html 檔案,並添加以下內容: {{ if .Site.Params.disqusShortname }} <div id="disqus_thread"></div> <script> var disqus_config = function () { this.page.url = '{{ .Permalink }}'; // Replace PAGE_URL with your page's canonical URL variable this.page.identifier = '{{ .File.Path }}'; // Replace PAGE_IDENTIFIER with your page's unique identifier variable }; (function() { // DON'T EDIT BELOW THIS LINE var d = document, s = d.createElement('script'); s.src = 'https://{{ .Site.Params.disqusShortname }}.disqus.com/embed.js'; s.setAttribute('data-timestamp', +new Date()); (d.head || d.body).appendChild(s); })(); </script> <noscript>Please enable JavaScript to view the <a href="https://disqus.com/?ref_noscript">comments powered by Disqus.</a></noscript> {{ end }} 在 local 確認是否有完成
在 Filamentphp 開發過程中,使用 Spatie Setting 插件,一開始一直卡關,所以寫這篇文章記錄一下。 安裝 Spatie Setting 插件 插件 filament-spatie-settings 安裝 spatie-laravel-settings-plugin composer require filament/spatie-laravel-settings-plugin:"^3.2" -W 安裝相關 migration 和 class 用 spatie/laravel-settings 這個套件,所以需要根據 installation 來安裝相關 migration 和 class 安裝 migration php artisan vendor:publish --provider="Spatie\LaravelSettings\LaravelSettingsServiceProvider" --tag="migrations" php artisan migrate 你會取得 migration 如下,並且執行 migrate use Illuminate\Database\Migrations\Migration; use Illuminate\Database\Schema\Blueprint; use Illuminate\Support\Facades\Schema; return new class extends Migration { public function up() { Schema::create('settings', function (Blueprint $table): void { $table->id(); $table->string('group'); $table->string('name'); $table->boolean('locked')->default(false); $table->json('payload'); $table->timestamps(); $table->unique(['group', 'name']); }); } }; 安裝 class ...
Google 在 2025 年 5 月 21 日宣布推出其最新的 AI 編程助手 Jules,旨在與 OpenAI 的 Codex 競爭。Jules 是一個強大的 AI 編程助手,專為開發者設計,能夠理解自然語言指令並生成高質量的程式碼。 以下就來試試看,如何透過 Jules 來幫我的一個 Filament 專案,加上我想要的功能。 我已經安裝 spatie-laravel-settings-plugin Plugin,我想讓 EmployeeResource.php 這個檔案裡面的其中一個欄位,能夠透過設定檔來控制。 開啟 Jules 並且連結 Github 開啟 Google Jules 選擇 Repo 根據我的 prompt 生成我需要的程式碼 feat: assign config value $hr_base_salary to Employee resource's base_salary 過程中會出現一些 error,Jules 嘗試自動修復環境問題。 最後成功生成了我需要的程式碼,並且詢問要不要開新分支 在我的 Github Repo 中可以看到 Jules 自動生成的分支 總結 整體來說算是一個不錯的體驗,Jules 能夠快速理解我的需求並生成相應的程式碼。雖然在過程中遇到了一些錯誤,但它能夠自動修復並繼續進行。這對於開發者來說是一個很大的幫助,特別是在處理複雜的專案時。 我相信一個好的且明確的 prompt 可能會影響到 AI 執行的結果。這或許是我們需要多加學習如何當一個好的 prompt engineer。
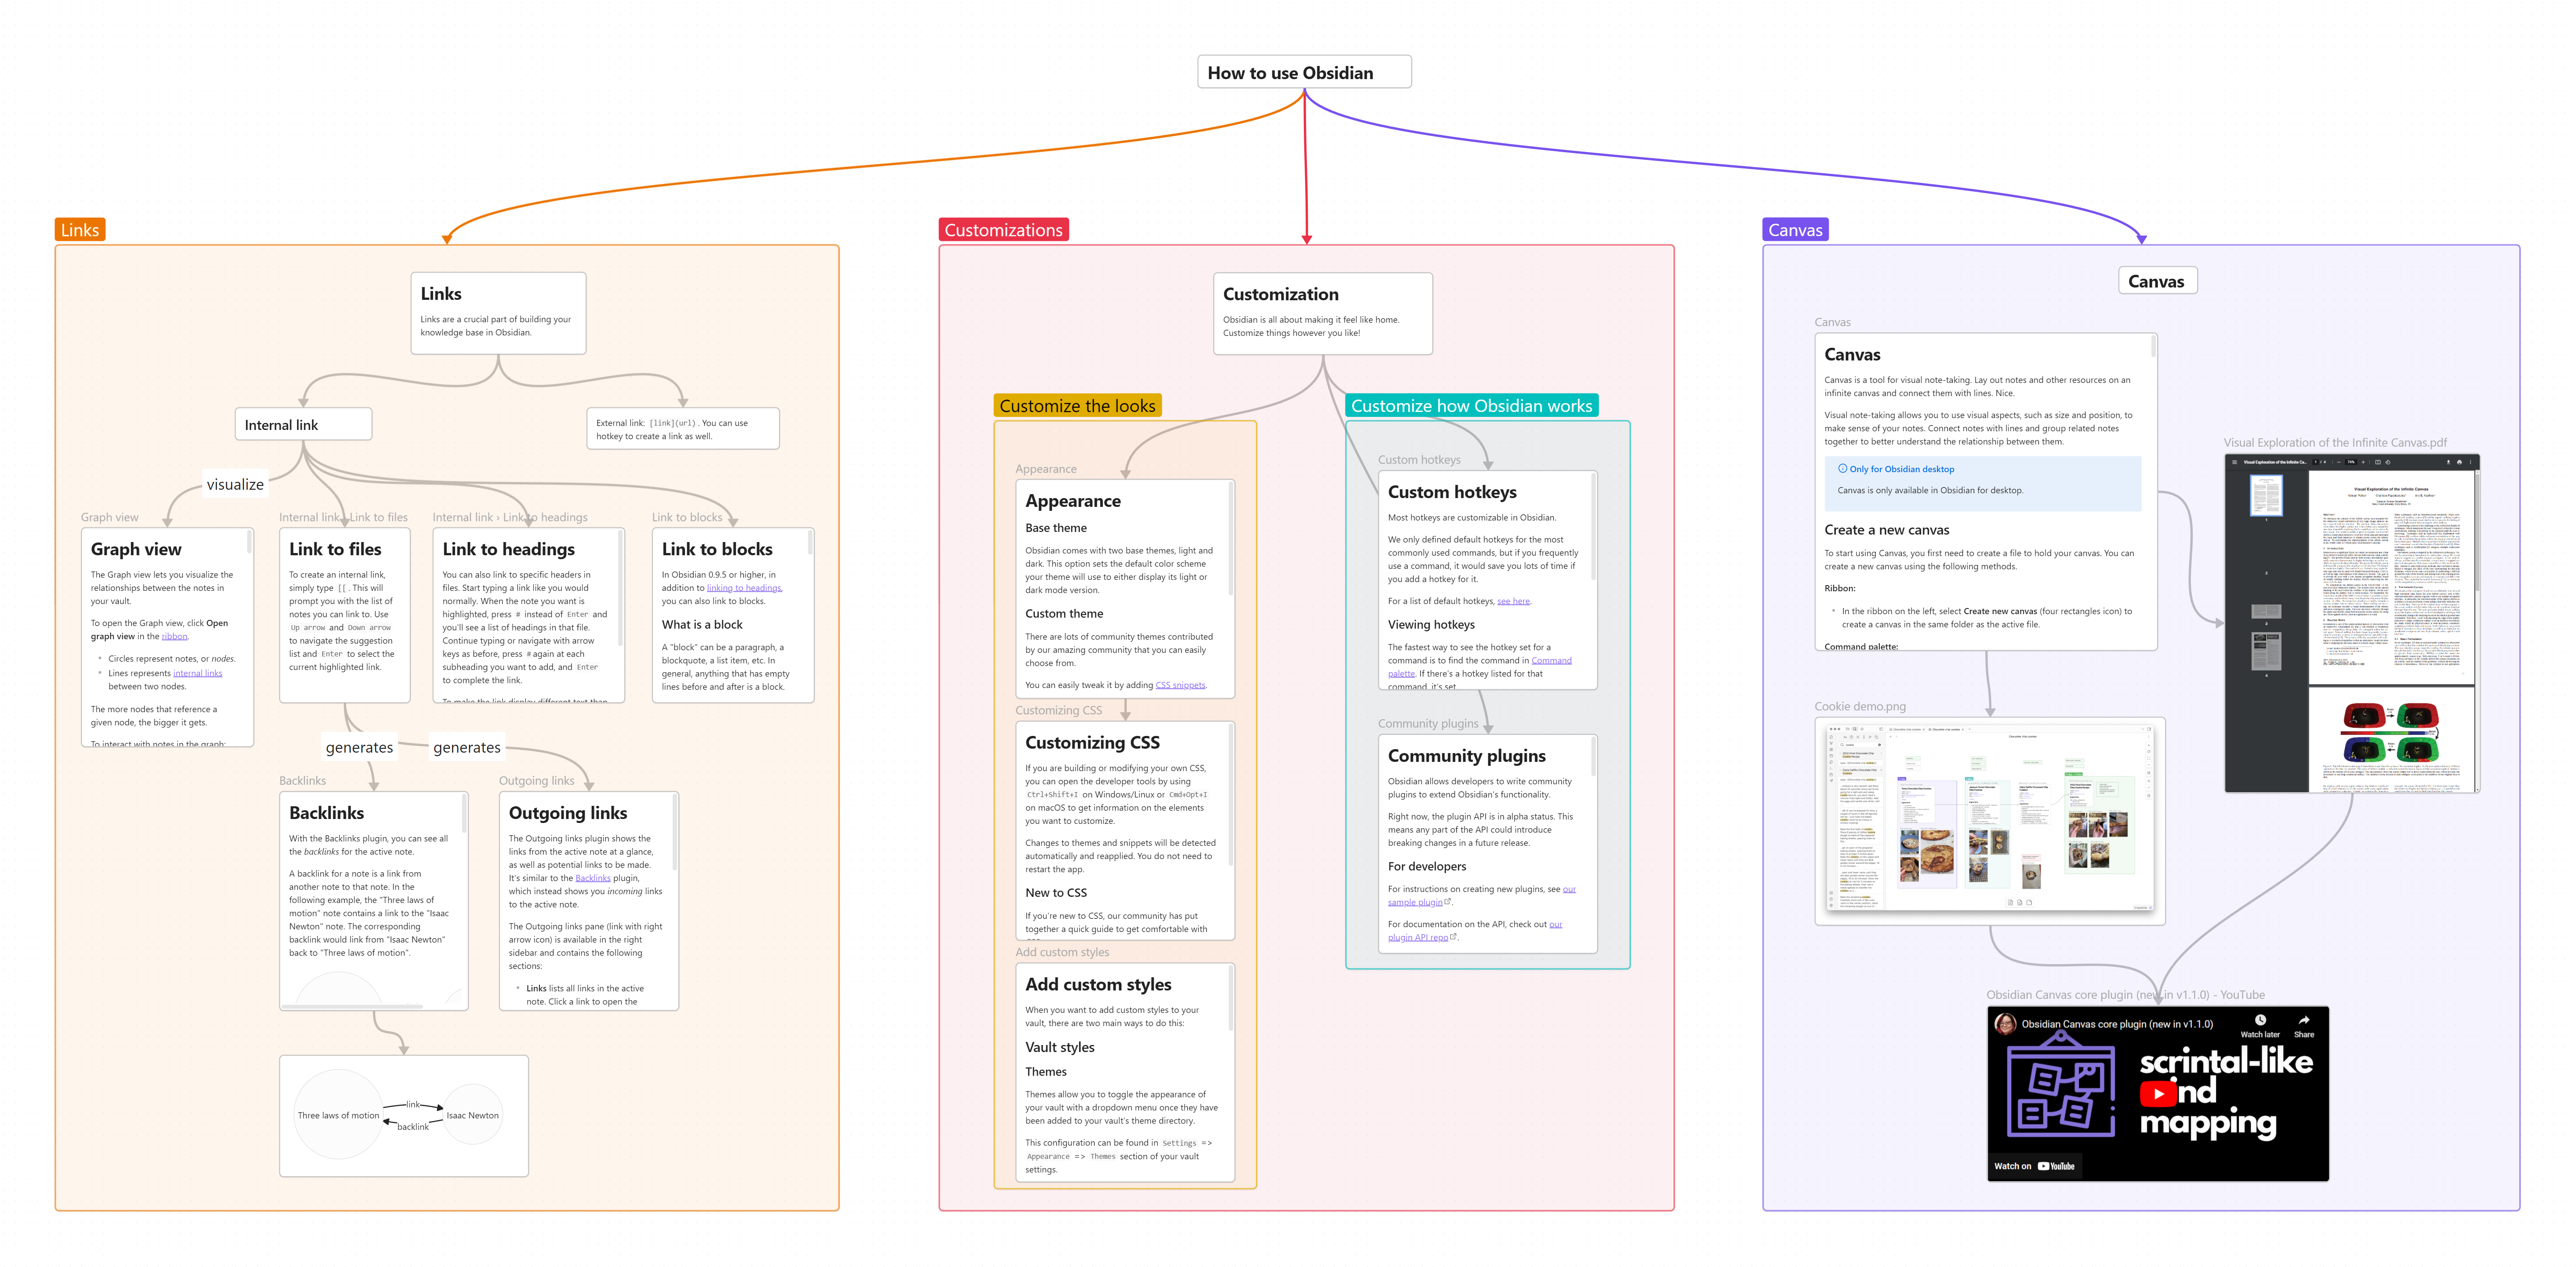
透過新增 CSS snippets 進入 Obsidian Settings 在彈出的視窗中,前往「外觀」(Appearance),然後向下捲動直到你看到「CSS 程式碼片段」(CSS snippets)。 你應該會在右側看到一個資料夾圖示,點擊它以開啟程式碼片段資料夾。 這時 Windows 資料夾應該會跳出,在空白處點右鍵,選擇「新增」->「文字文件」。 將這個文字文件重新命名為 Canvas-Snippets.css(系統可能會詢問你是否確定要重新命名,請確認)。 雙擊這個檔案,然後將以下提供的 CSS 程式碼貼上並儲存(關閉檔案並確認儲存變更)。 .canvas-node-content:not(.is-loaded):not(:has(.has-list-bullet)) { text-align: center; } 關閉資料夾視窗,別忘了啟用剛剛建立的 Canvas-Snippets(此時你的 Obsidian 設定應該還是開著的)。 Ref